 During the winter, I keep butyl tubes in my bike tires because latex tubes are a pain to inflate every time I put my bike on the trainer. Performance doesn’t matter indoors as it’s all about watts. As spring rolls around, outdoor riding and racing pop up on the horizon, so I switch out to latex tubes– and invariably I get pinch flats when I change out my tires. Here’s how to avoid that.
(Update: I updated this page later in the day after a few training buddies asked for more details– now the fourth time I’ve mounted this same tube!)
This post came about after I trashed a brand new $18 latex tube yesterday. I had just changed the tube and it was at pressure. Everything seemed fine. Then, out of nowhere, “BANG!” Another nasty pinch flat. This made me wonder whether latex tubes were really a good idea– if I had a flat, I would have to have several tubes because who knows if I would get another flat when I changed the tire? And forget about racing– tubulars seemed infinitely more reliable.
I know. I know. After racing for the last 35 years, you would think that flawless tire changes would be second nature to me. It isn’t. I’ve watched the guys in the shop do it and they confessed that pinch flats on tire changes happen with some regularity even to them (although, in retrospect, I’m sure they know about the trick I’m about to describe– so their woes are likely due to changing tires too fast). I’ve scoured the videos on the internet about how to avoid pinch flats. At best, they tell you to make sure the tube is well inside the tire casing before seating the second tire bead. For instance, Trek Bicycle’s video on changing a flat advises that you tuck the tube in the tire before pulling the second bead on the rim. Well, yeah, that much I knew already.
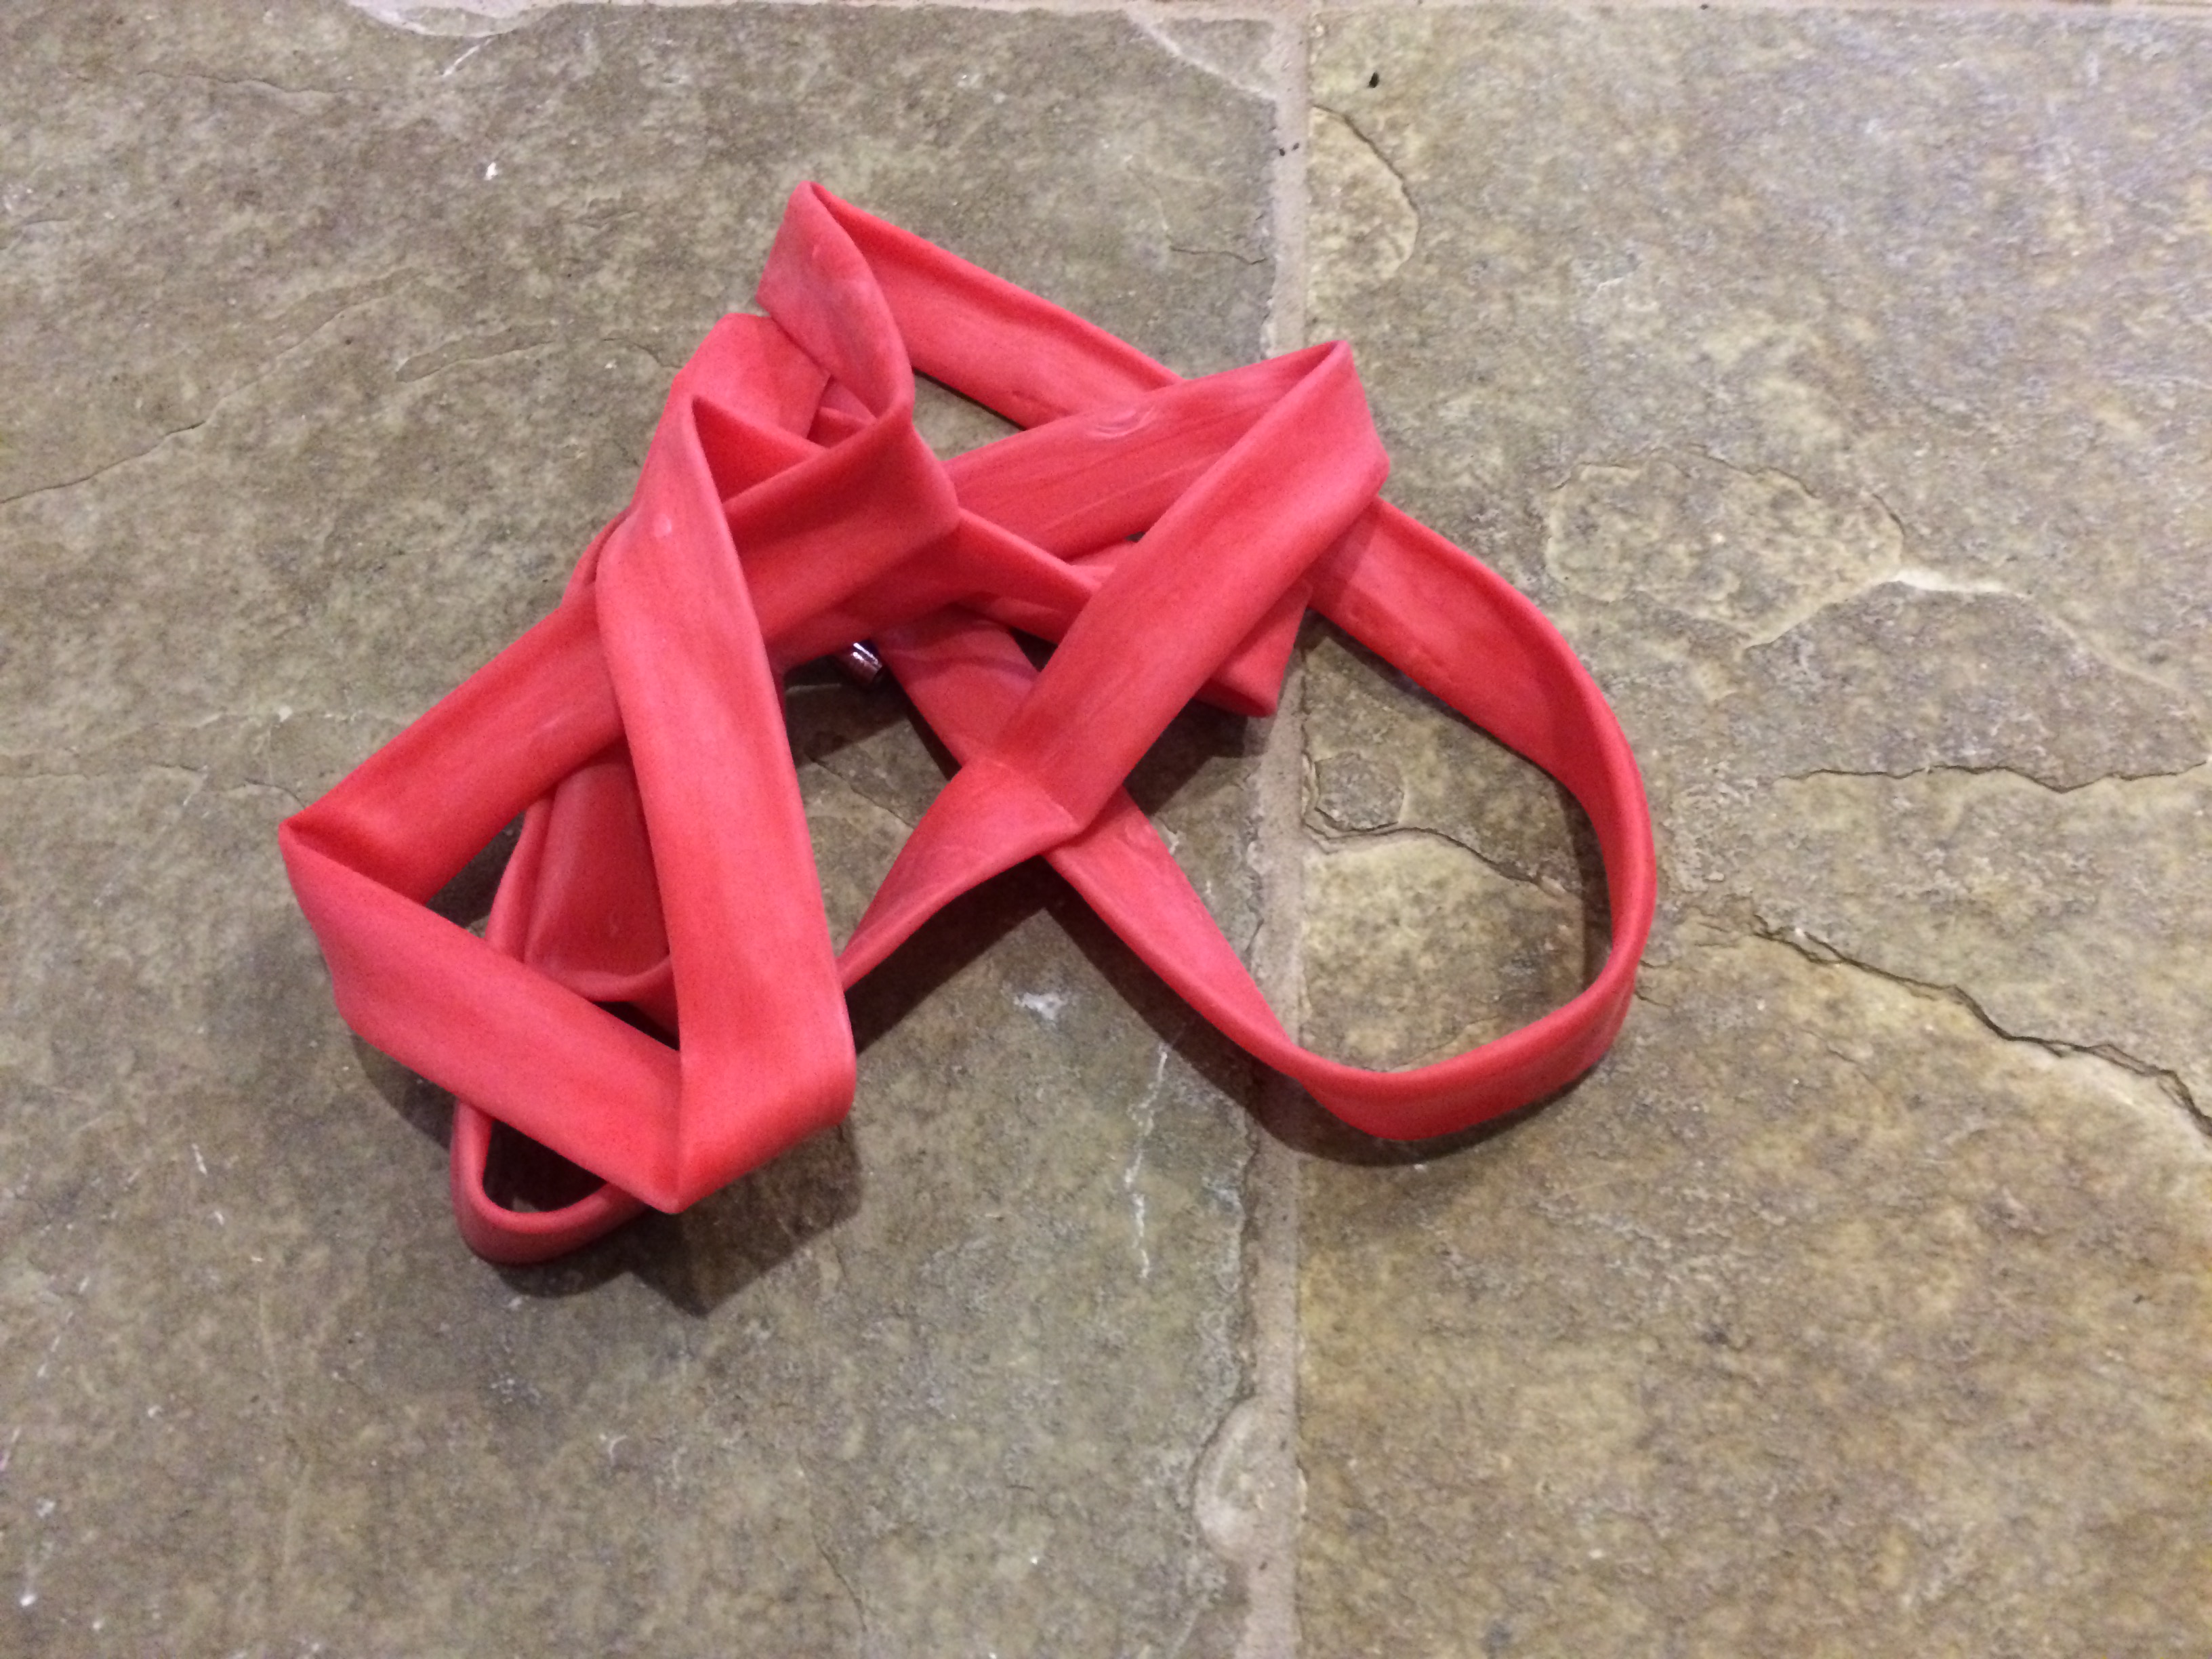
 The problem is that this advice never works for me with latex tubes. The picture at the left shows a typical tire installation. I have one side of the tire bead already seated. There’s a touch of air in the tube already and I’ve put one end of the tube onto the rim. As you can see in the picture, my latex tubes is MUCH SMALLER than the rim diameter. “Tucking the tube in the tire” isn’t useful information unless the tube is at least as big as the tire. Following this advice, I used to go inch-by-inch trying as best I could to get the tube jammed in the tire and then pulling the bead onto the rim. Invariably, this caused the tube to stretch more at the end and it was always really hard to avoid getting a little bit of the tube caught between the tire and the rim. And no, I didn’t get the wrong size tube– this is a 700C tube and tire.
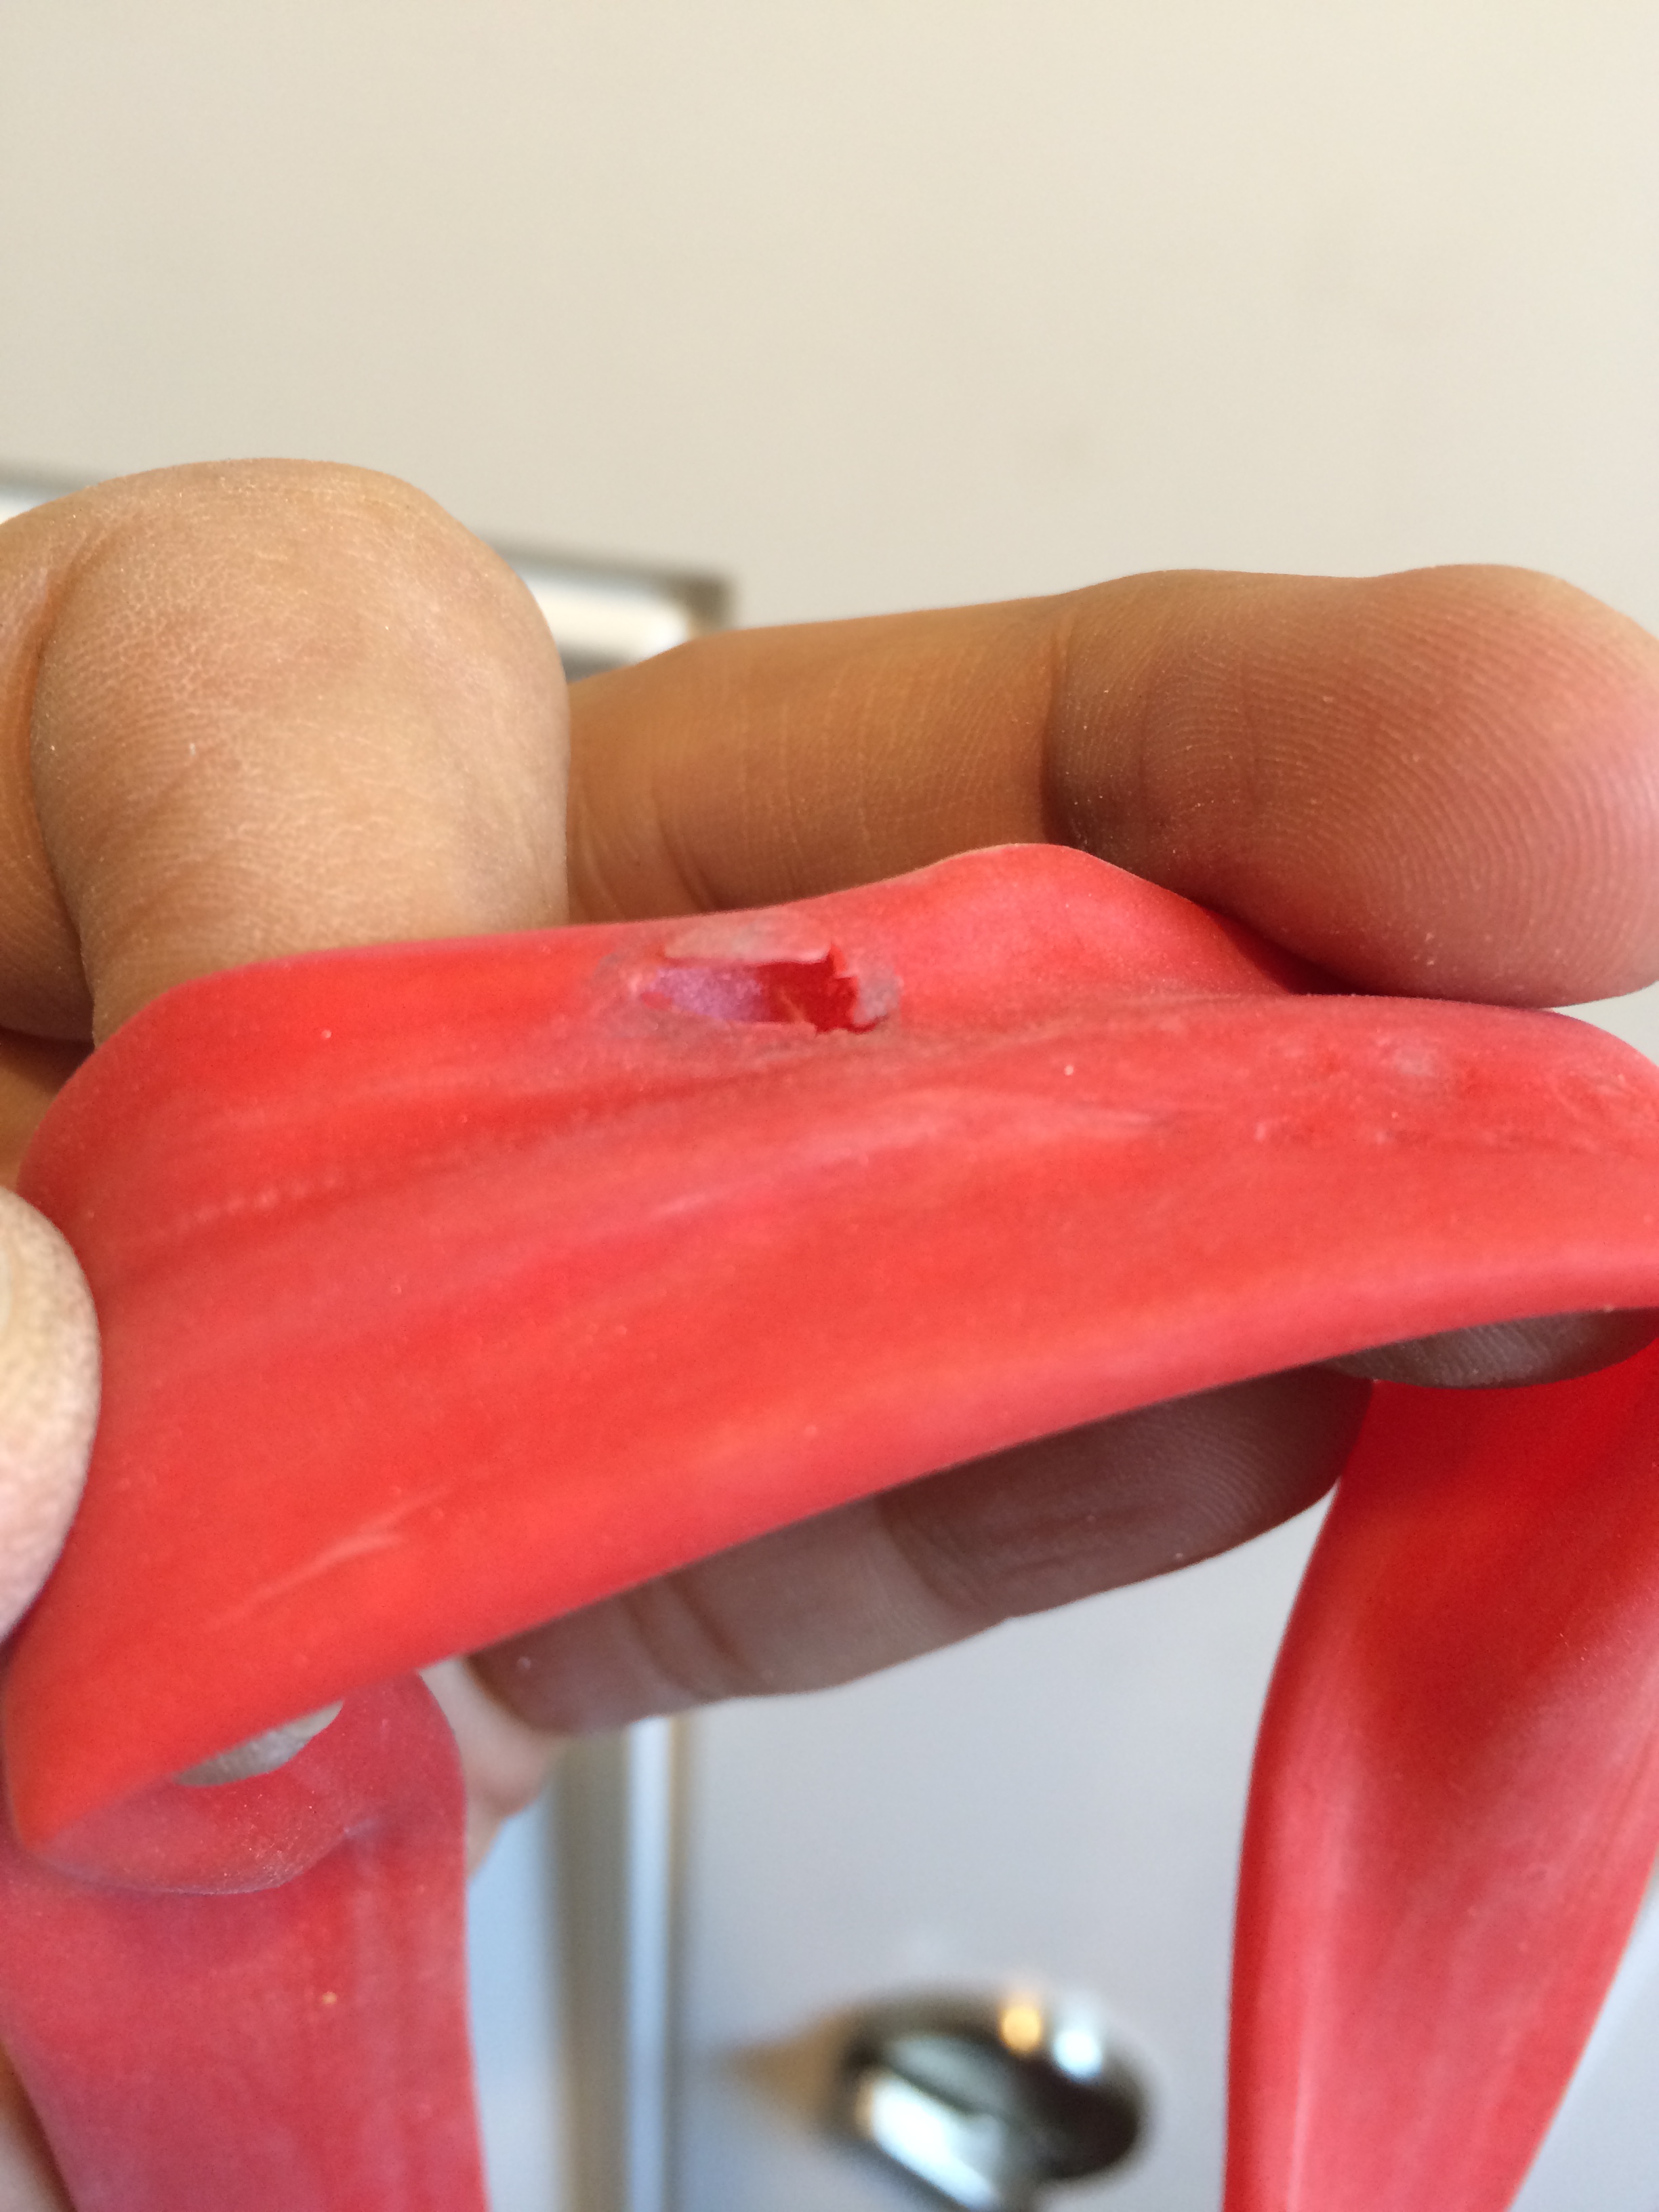
 The photo at the right gives a close-up of what goes wrong with the typical installation. Following the advice of “tuck the tube in the tire,” I would make my way around the tire, firmly attaching the bead over the rim. But because the latex tube is smaller than the rim diameter, I would always have a little bit of tube sticking out at the end. I’ve talked to my buddies about this and we all did the same thing– push the tube in (using our finger, a tire lever, or whatever we could find), pull the bead over, and try as best as possible not to get the tube pinched between the bead and the rim. But with thin latex tubes, this is risky business. Even though I would later go around and make sure no bits of tube were peeking out beyond the bead, I must have blown out at least 20% of the tubes as I installed them. I think it was more than just classic pinch flats going on– all that rough handling of the tube during installation was probably damaging my tubes and my tubes certainly were not evenly stretched in the tire. Whatever the cause, by anyone’s standards, one out of five tubes is not an acceptable ratio.
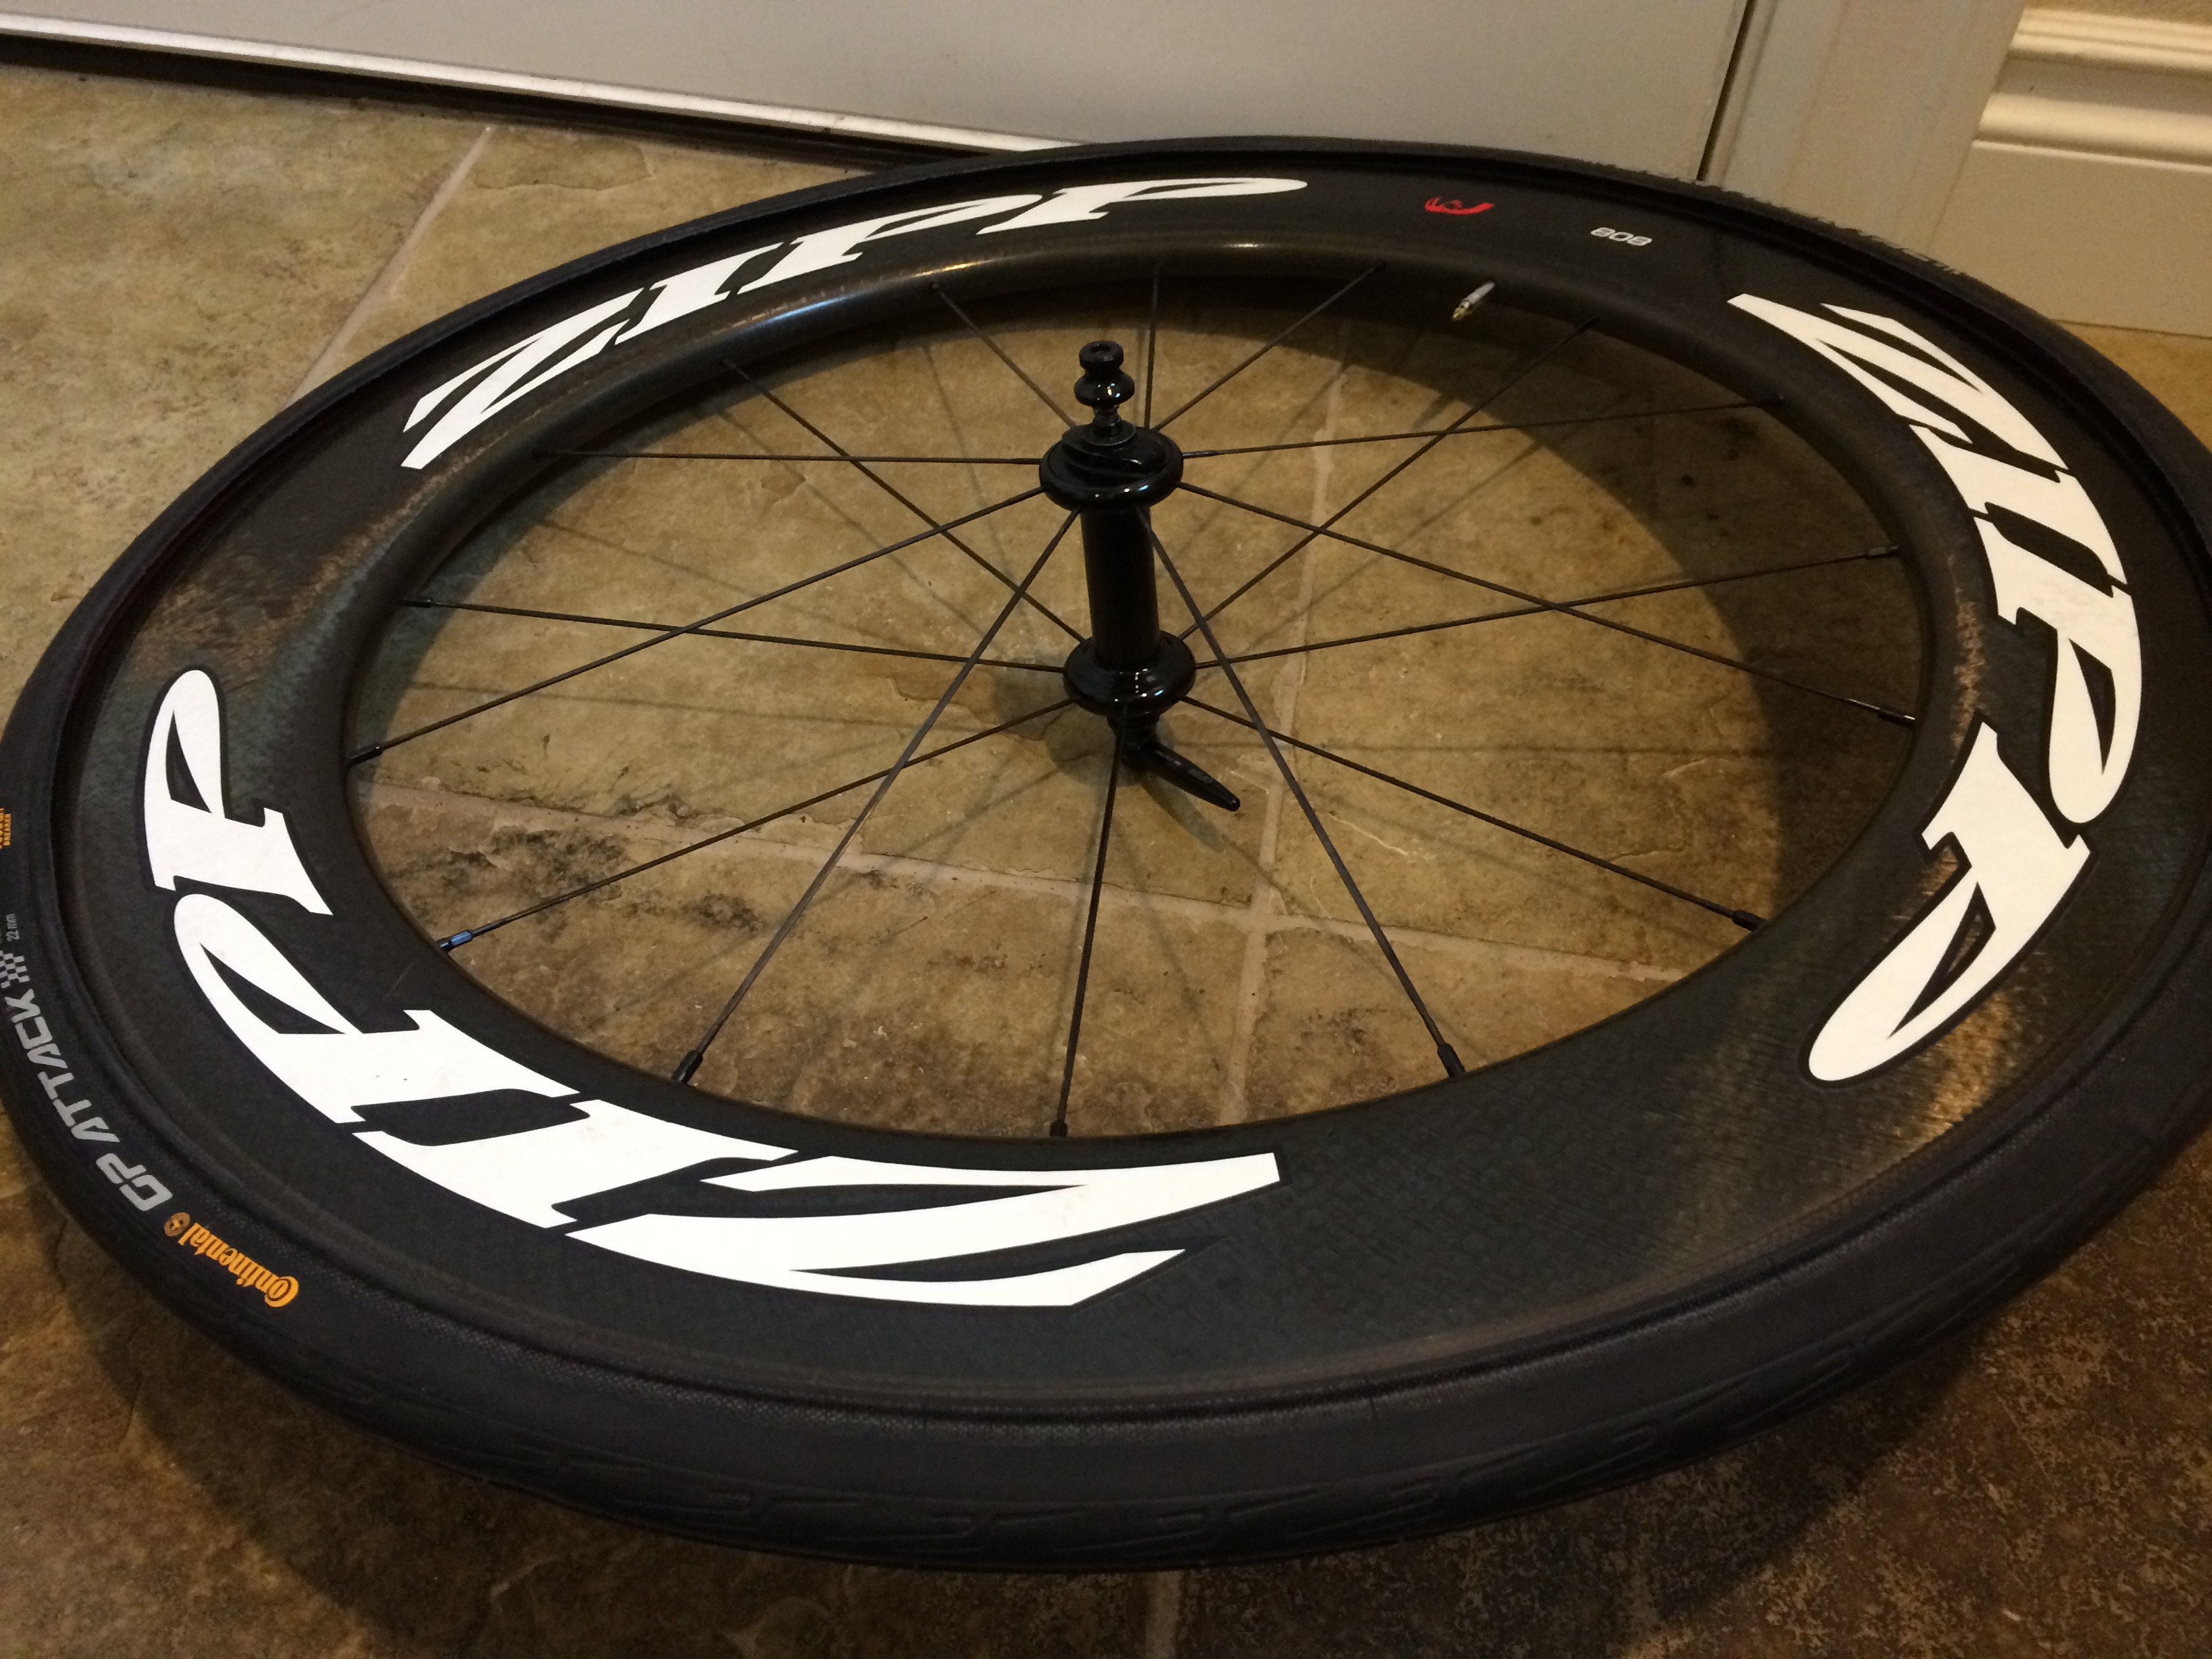 The solution? Fully seat the tube on the rim. That’s it– just seat the tube on the rim every time before you even start seating the second tire bead. Forget about the advice about “tucking the tube in the tire”– that advice only works if the tube is slightly bigger than the rim. Instead think: seat the tube on the rim first. In the picture at the left, I’ve gone around the wheel and pushed the tube onto the rim cavity before doing anything else. If you look closely at the picture on the right, you’ll notice that the bead isn’t seated anywhere on the top side of the wheel. It’s important to take time with this– make sure the tube isn’t twisted but is evenly stretched out into the rim cavity. This can be tricky at first– you may have to push the seated bead over quite bit. Once you’ve seated the tube on the rim, the other half of the tire almost wants to seat itself.
Just to be clear about how to do it, let’s go through the better way to mount a tire with tiny tubes.
 First, of course you want to give your tube a little shape by inflating it with air. I could use a pump for this, but I prefer to just blow it up with my mouth– it reminds me that this is the way to do it when I’m stranded out in the middle of nowhere with nothing but an overly powerful CO2 cartridge. I shouldn’t have to say this but I will: don’t do this with a CO2 inflator. It takes a minuscule amount of pressure to give the tube shape and a CO2 inflator will just explode your fresh tube before you’ve mounted it anywhere. Now seat your valve like I’m doing in the photo on the right. This takes a bit of wiggling– I’m pushing the bead of the other side of the tire down to get the tube into the rim cavity. Of particular note here: I am NOT mounting the second bead of the tire yet– I am just gently seating the tube in the rim cavity.
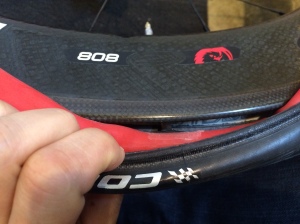
 Next, I work my way around the tire, mounting the tube into the rim cavity. I want to make my way all the way around the tire, gently convincing the tire to let me push the tube onto the rim cavity. Again, by this time, I haven’t mounted the second bead of the tire anywhere around the circumference of the rim; I’m just trying to get the tube evenly stretched and without any twists on the rim bed. By the time I’m done, my tire and tube should look exactly like the photo at the left all the way around the wheel. The photo angle might not really show it, but the tube is resting gently in the rim cavity all the way around the wheel. In fact, it’s pulled up towards the camera a little bit because I’m pulling the upper bead to reveal the tube. If I just let the tire go, my wheel would look like the wheel shown two photographs earlier. Again, the bead on the other side of the tire is mounted but the second bead has not been mounted anywhere around the wheel. Right now, the goal is just to get the tube evenly seated in the rim cavity– not in the tire.
I only start to mount the second bead after the tube is seated in the rim cavity all the way around the wheel. Now, putting on the second bead is a piece of cake– it almost falls into place and doesn’t come close to pinching the tube anywhere. And remember that photo above with the tube sticking out on the last stages of tire mounting? Well, that’s a thing of the past. Now, even mounting this last little bit, there’s no chance I’ll catch my tube. The tire I’m mounting on the right has got to be the tightest bead I’ve ever worked with. So as I approach this final little bit of tire, I’ll start at the opposite side and pull the tire from opposite sides to give the bead a little slack to make it over the final section of rim.
 Again, because the tube was first completely seated in the rim cavity, getting the other bead on the rim is a piece of cake. And because the tube was evenly stretched and slightly inflated, there’s little chance that you’ll get any part of the tube caught between the tire and the rim. Of course, you should always check just to be sure as I’m doing in the picture on the left. Ever since I’ve been using this new trick, my tube never shows up anywhere around the wheel during this final wheel check– a sure sign that the installation went perfectly. Just to be sure about the reliability of my new trick, I pulled and reinstalled the tube on my tire three more times before finally concluding I had a winner.
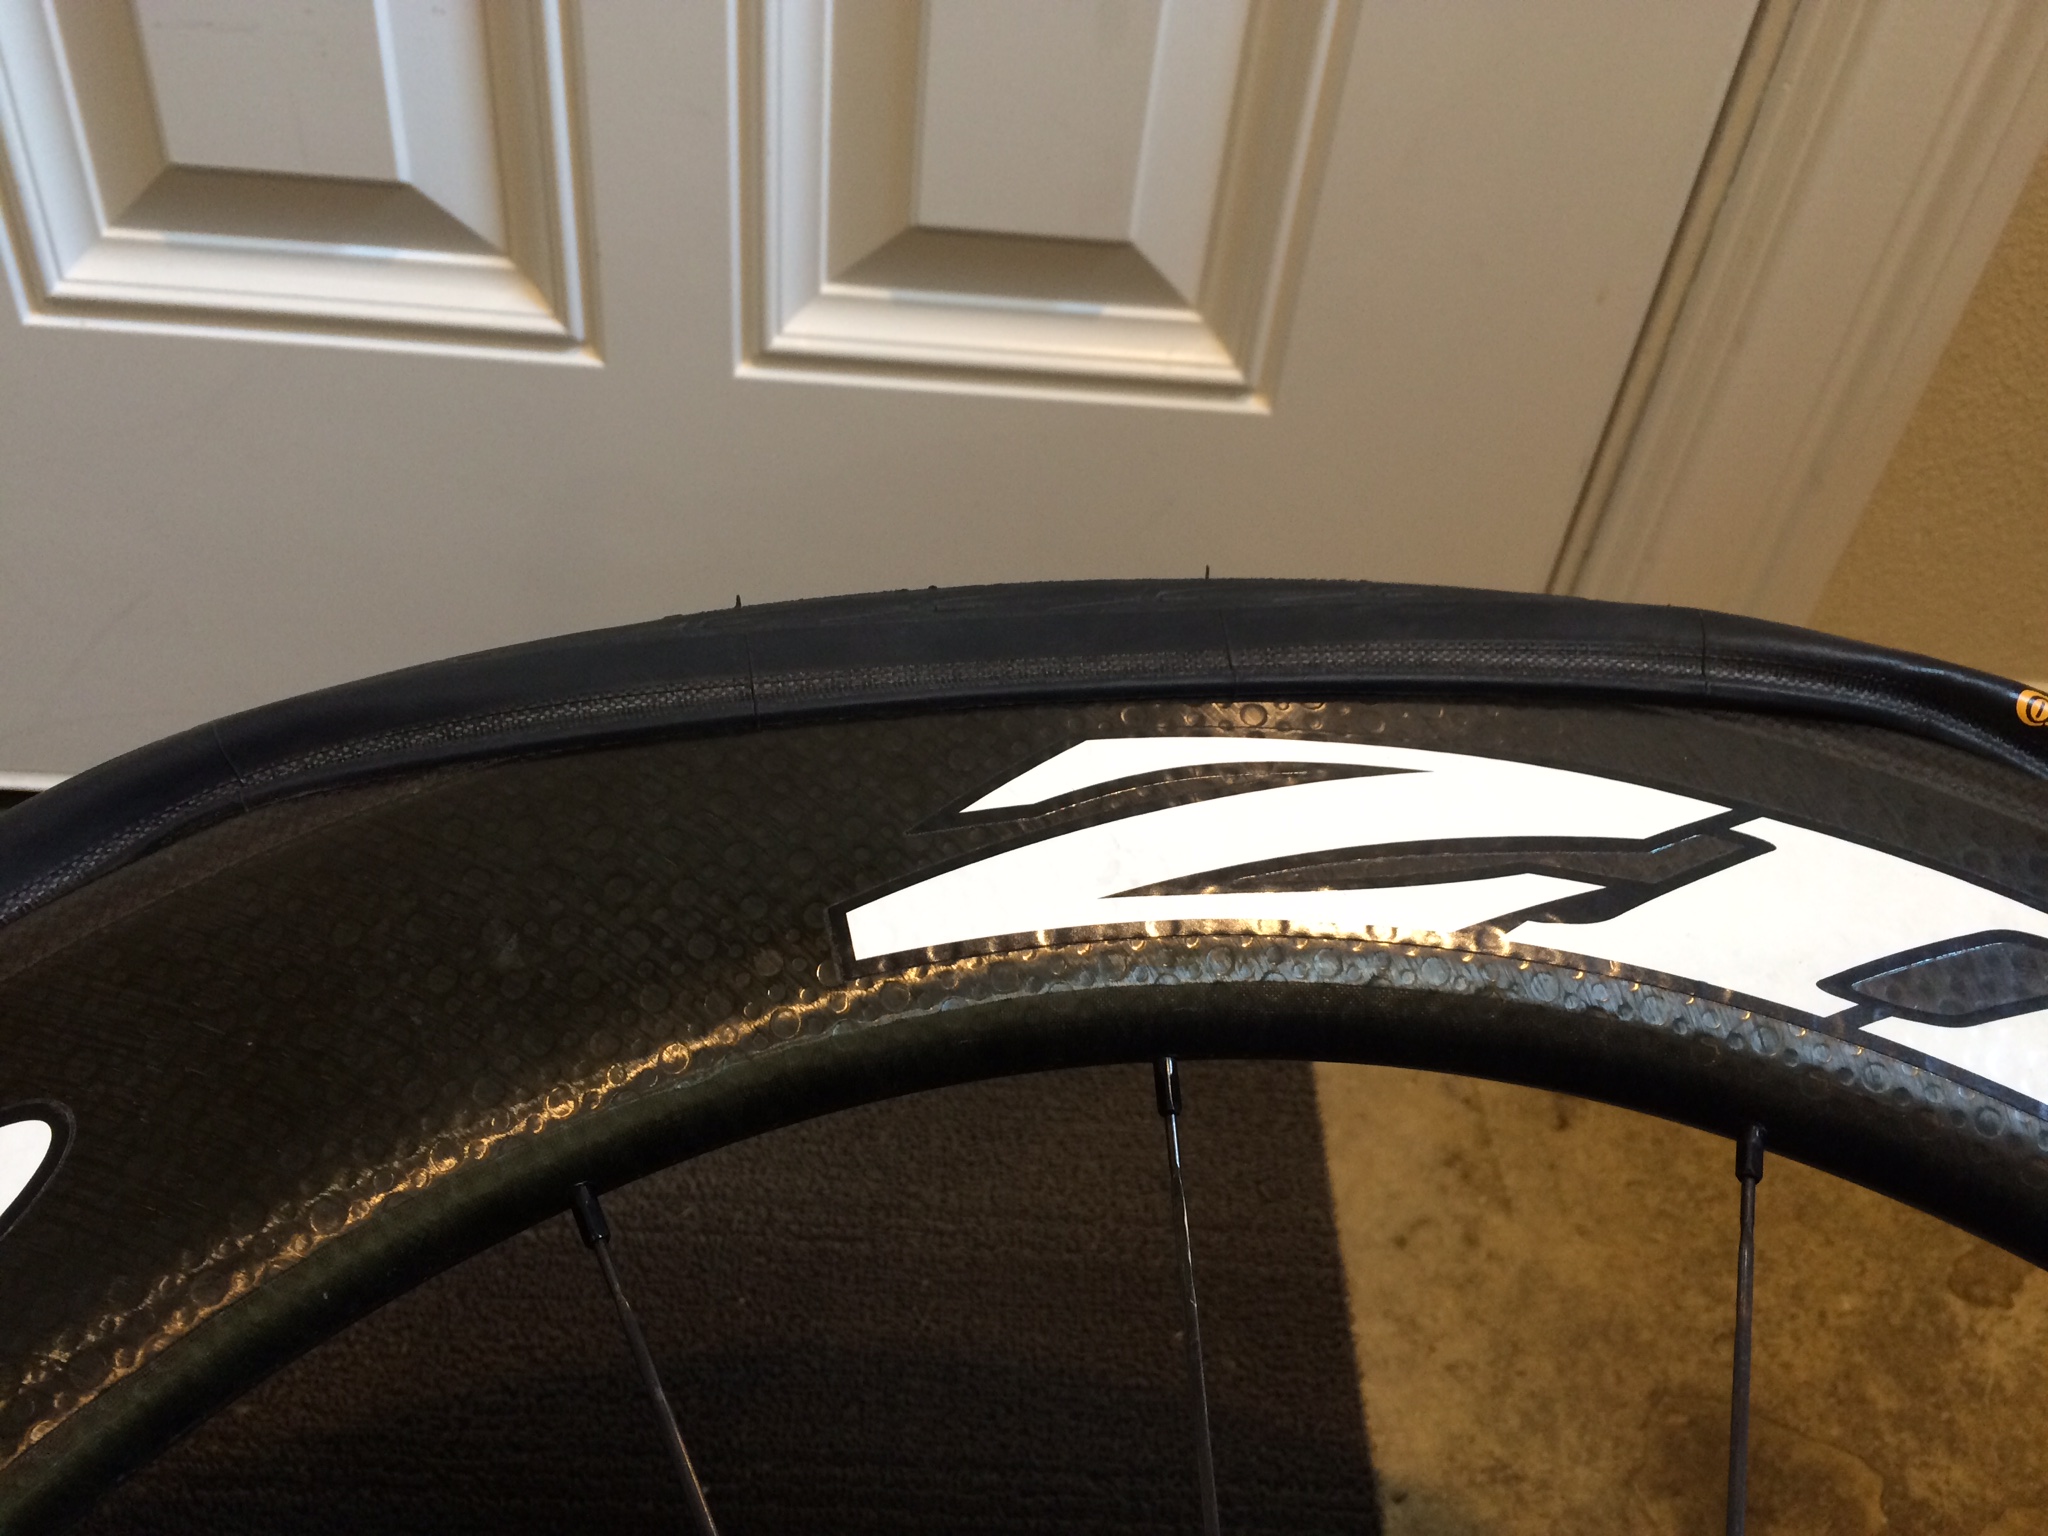
One quick shout-out about Zipp 808 Firecrests and tool-free tire changes. I did all of my tire changes without a tire lever! With a nice springy handmade tire like my Veloflex Record tires, this is possible on just about any rim. But with a stiff vulcanized tire like this Continental Extreme, even changing tires with tire lever would be challenging on other rims. On Zipp Firecrests, it just takes a slight tug with my fingers and the bead easily goes on and off. Yay! Even fewer pinch flats (not as if that’s an issue anymore) and a real life saver in races!
Thanks for reading and be sure to like the Athletic Time Machine Facebook page and follow us on Twitter @AthTimeMachine. If you found this post useful, please reblog it on WordPress, share it on Facebook, or retweet it on Twitter to share it with your friends.
